Quantcast
Channel: Design – NDI

How To Redecorate/Repurpose Your Space, Part 1: Getting Started

$
0
0

I’m starting a new blog series about redecorating/repurposing your space. As our lives change, so do our needs. And as our needs change, our homes need to change with us. It is one of the reasons I still love our Nottingham Model after over 15 years.

When Paul & I built our home, we didn’t think we would have children. Two years later, our first son was born, and 18 months after that, our second son came along. This home has changed right along with us, and when I say we utilize it all, I mean it. Especially after I recently repurposed one of the rooms that wasn’t getting the love (use) it deserved.

Do you have a space you want to transform either visually or for it’s functionality? I hope you will join me for this fun journey as I show you how I turned a barely used guest room into a space just for me. I’ll share my process, my tips, my favorite ways to shop, and more!

First up, getting started! Have you had decorating ideas floating around your head for a while, and aren’t sure how to get started? Sometimes you just need to jump (or get pushed!)…

_______________________________________________________________________

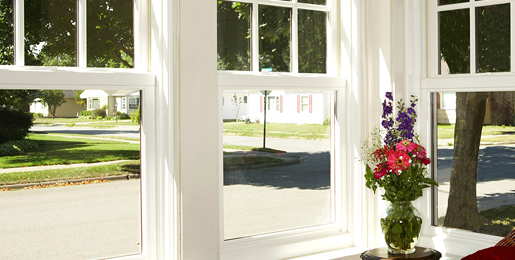
Shortly after the holidays, I was grabbing some laundry off the drying rack in our guest room. This particular room has served many purposes over the years since Paul and I built our home in 2008. From 2008 – 2010, it was a second guest room which barely got any use. When we found out I was pregnant with our 1st born, we turned it into the nursery.

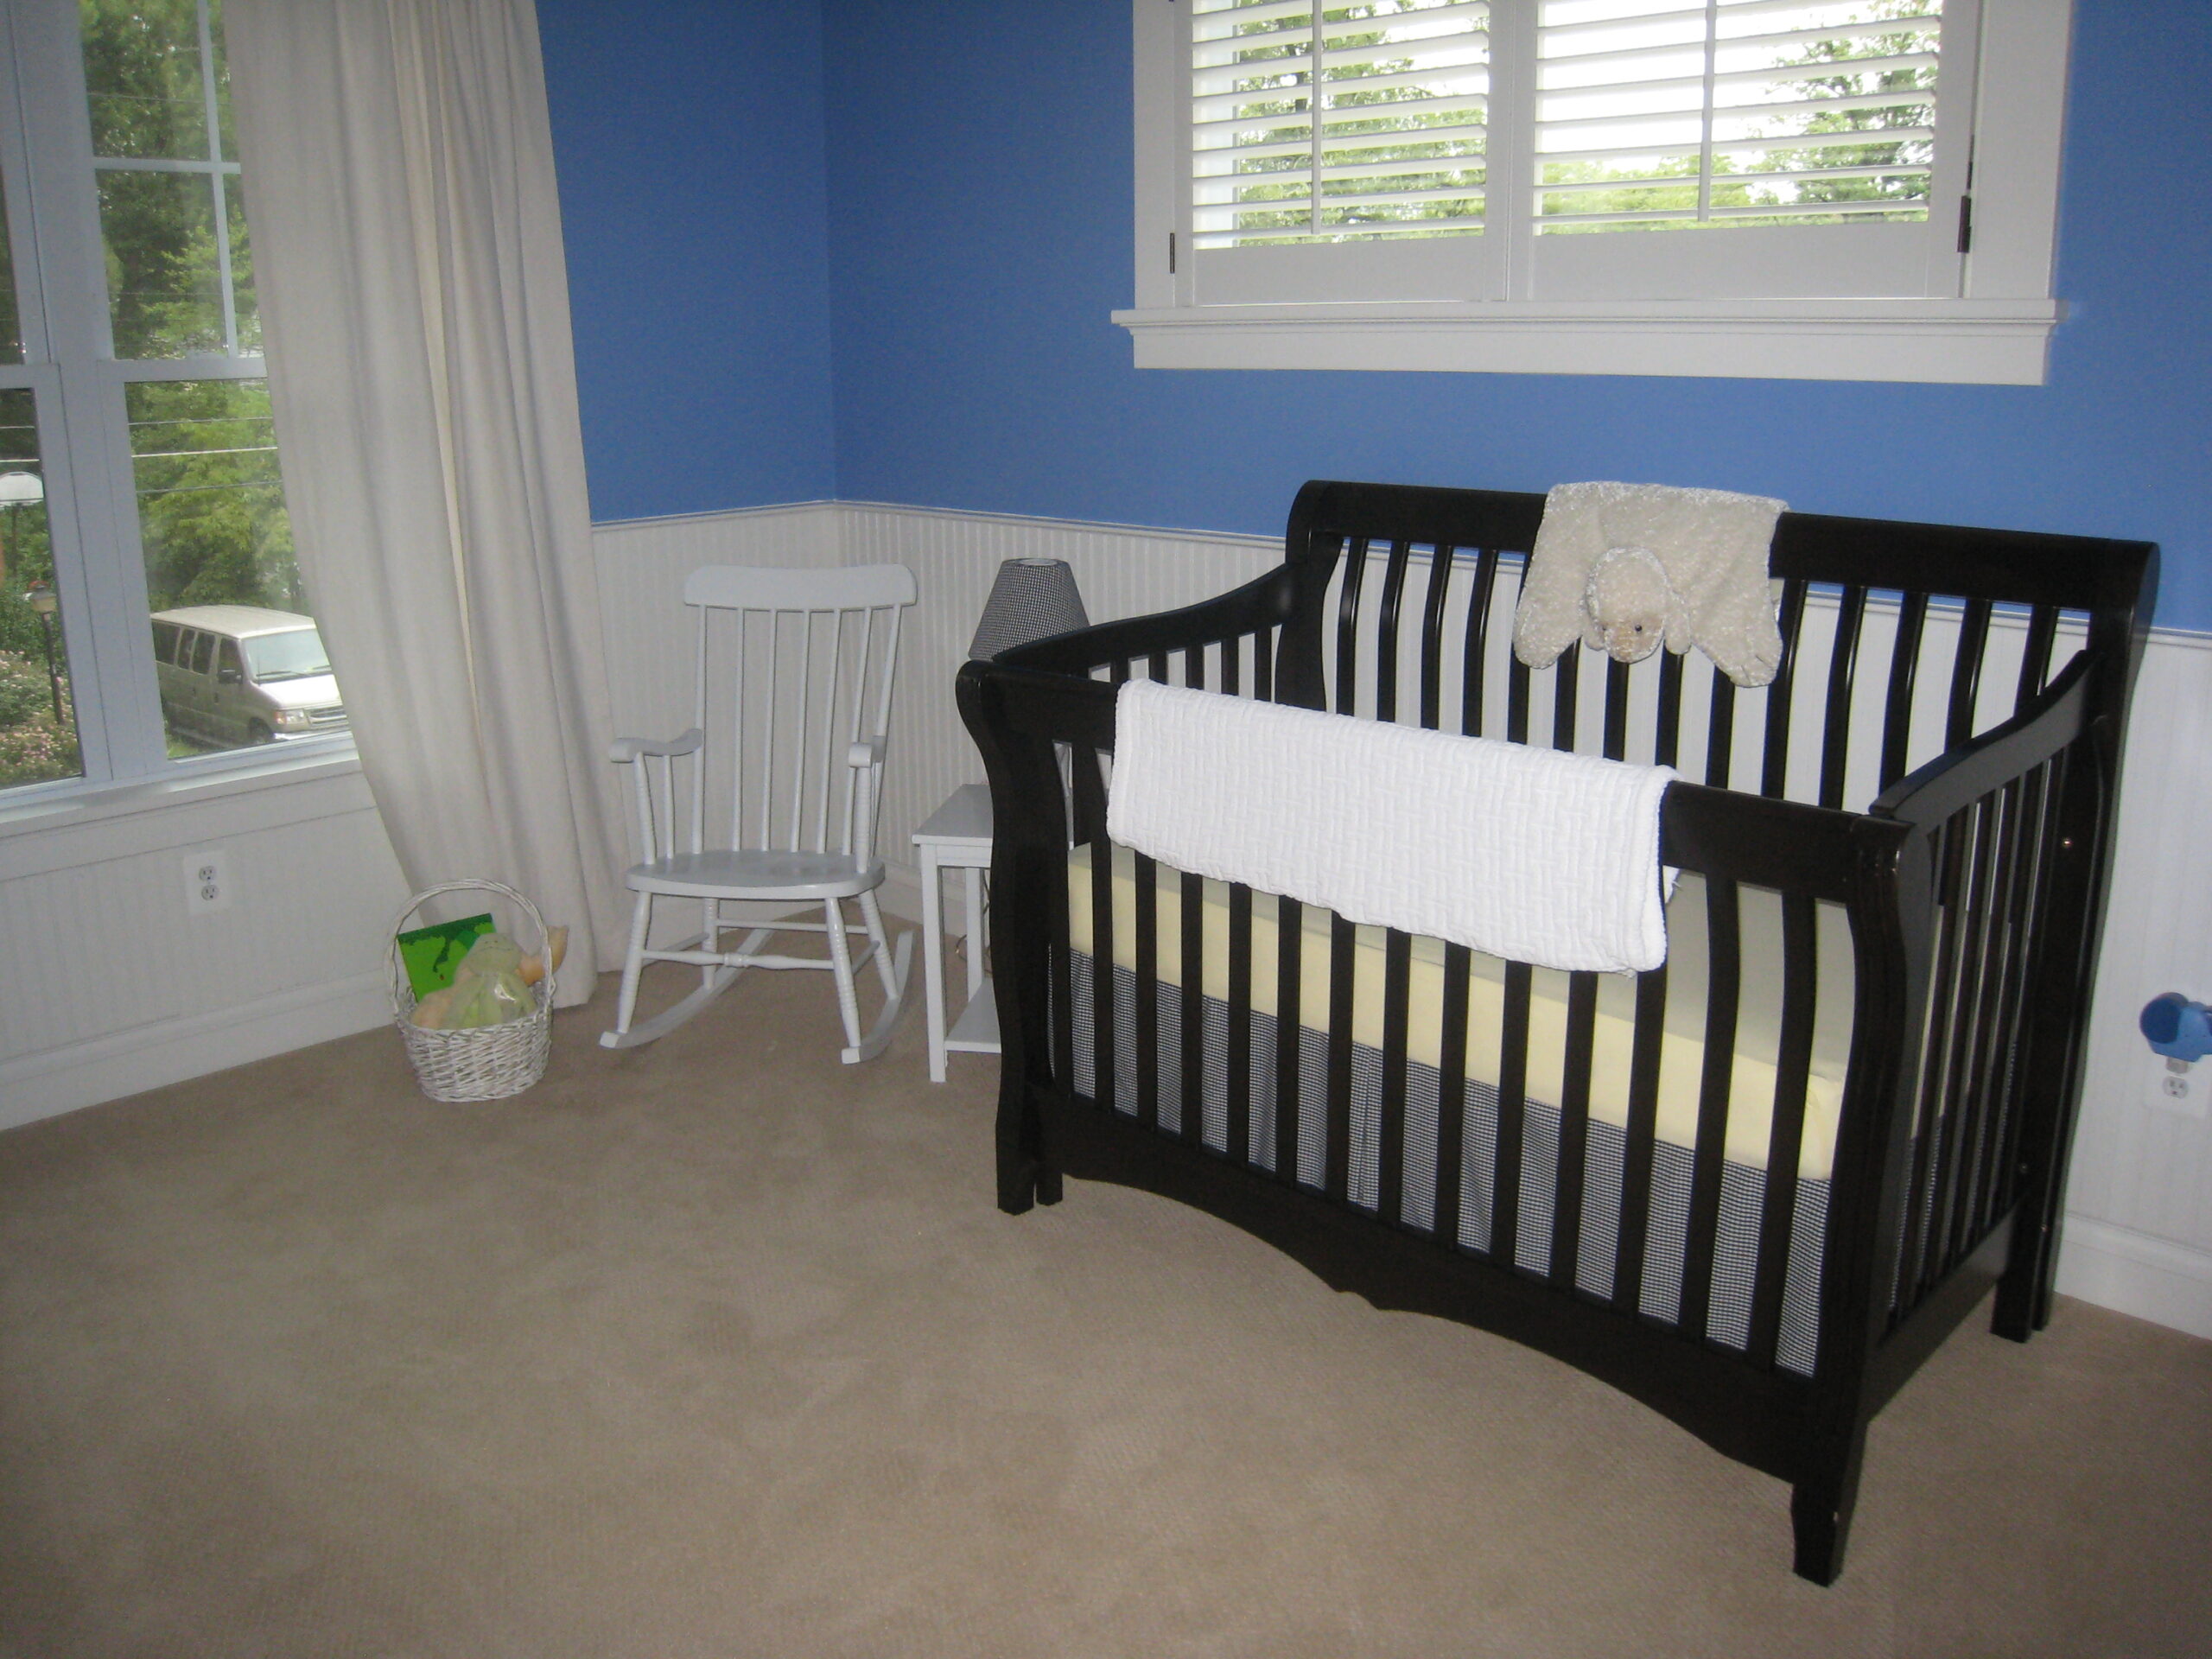
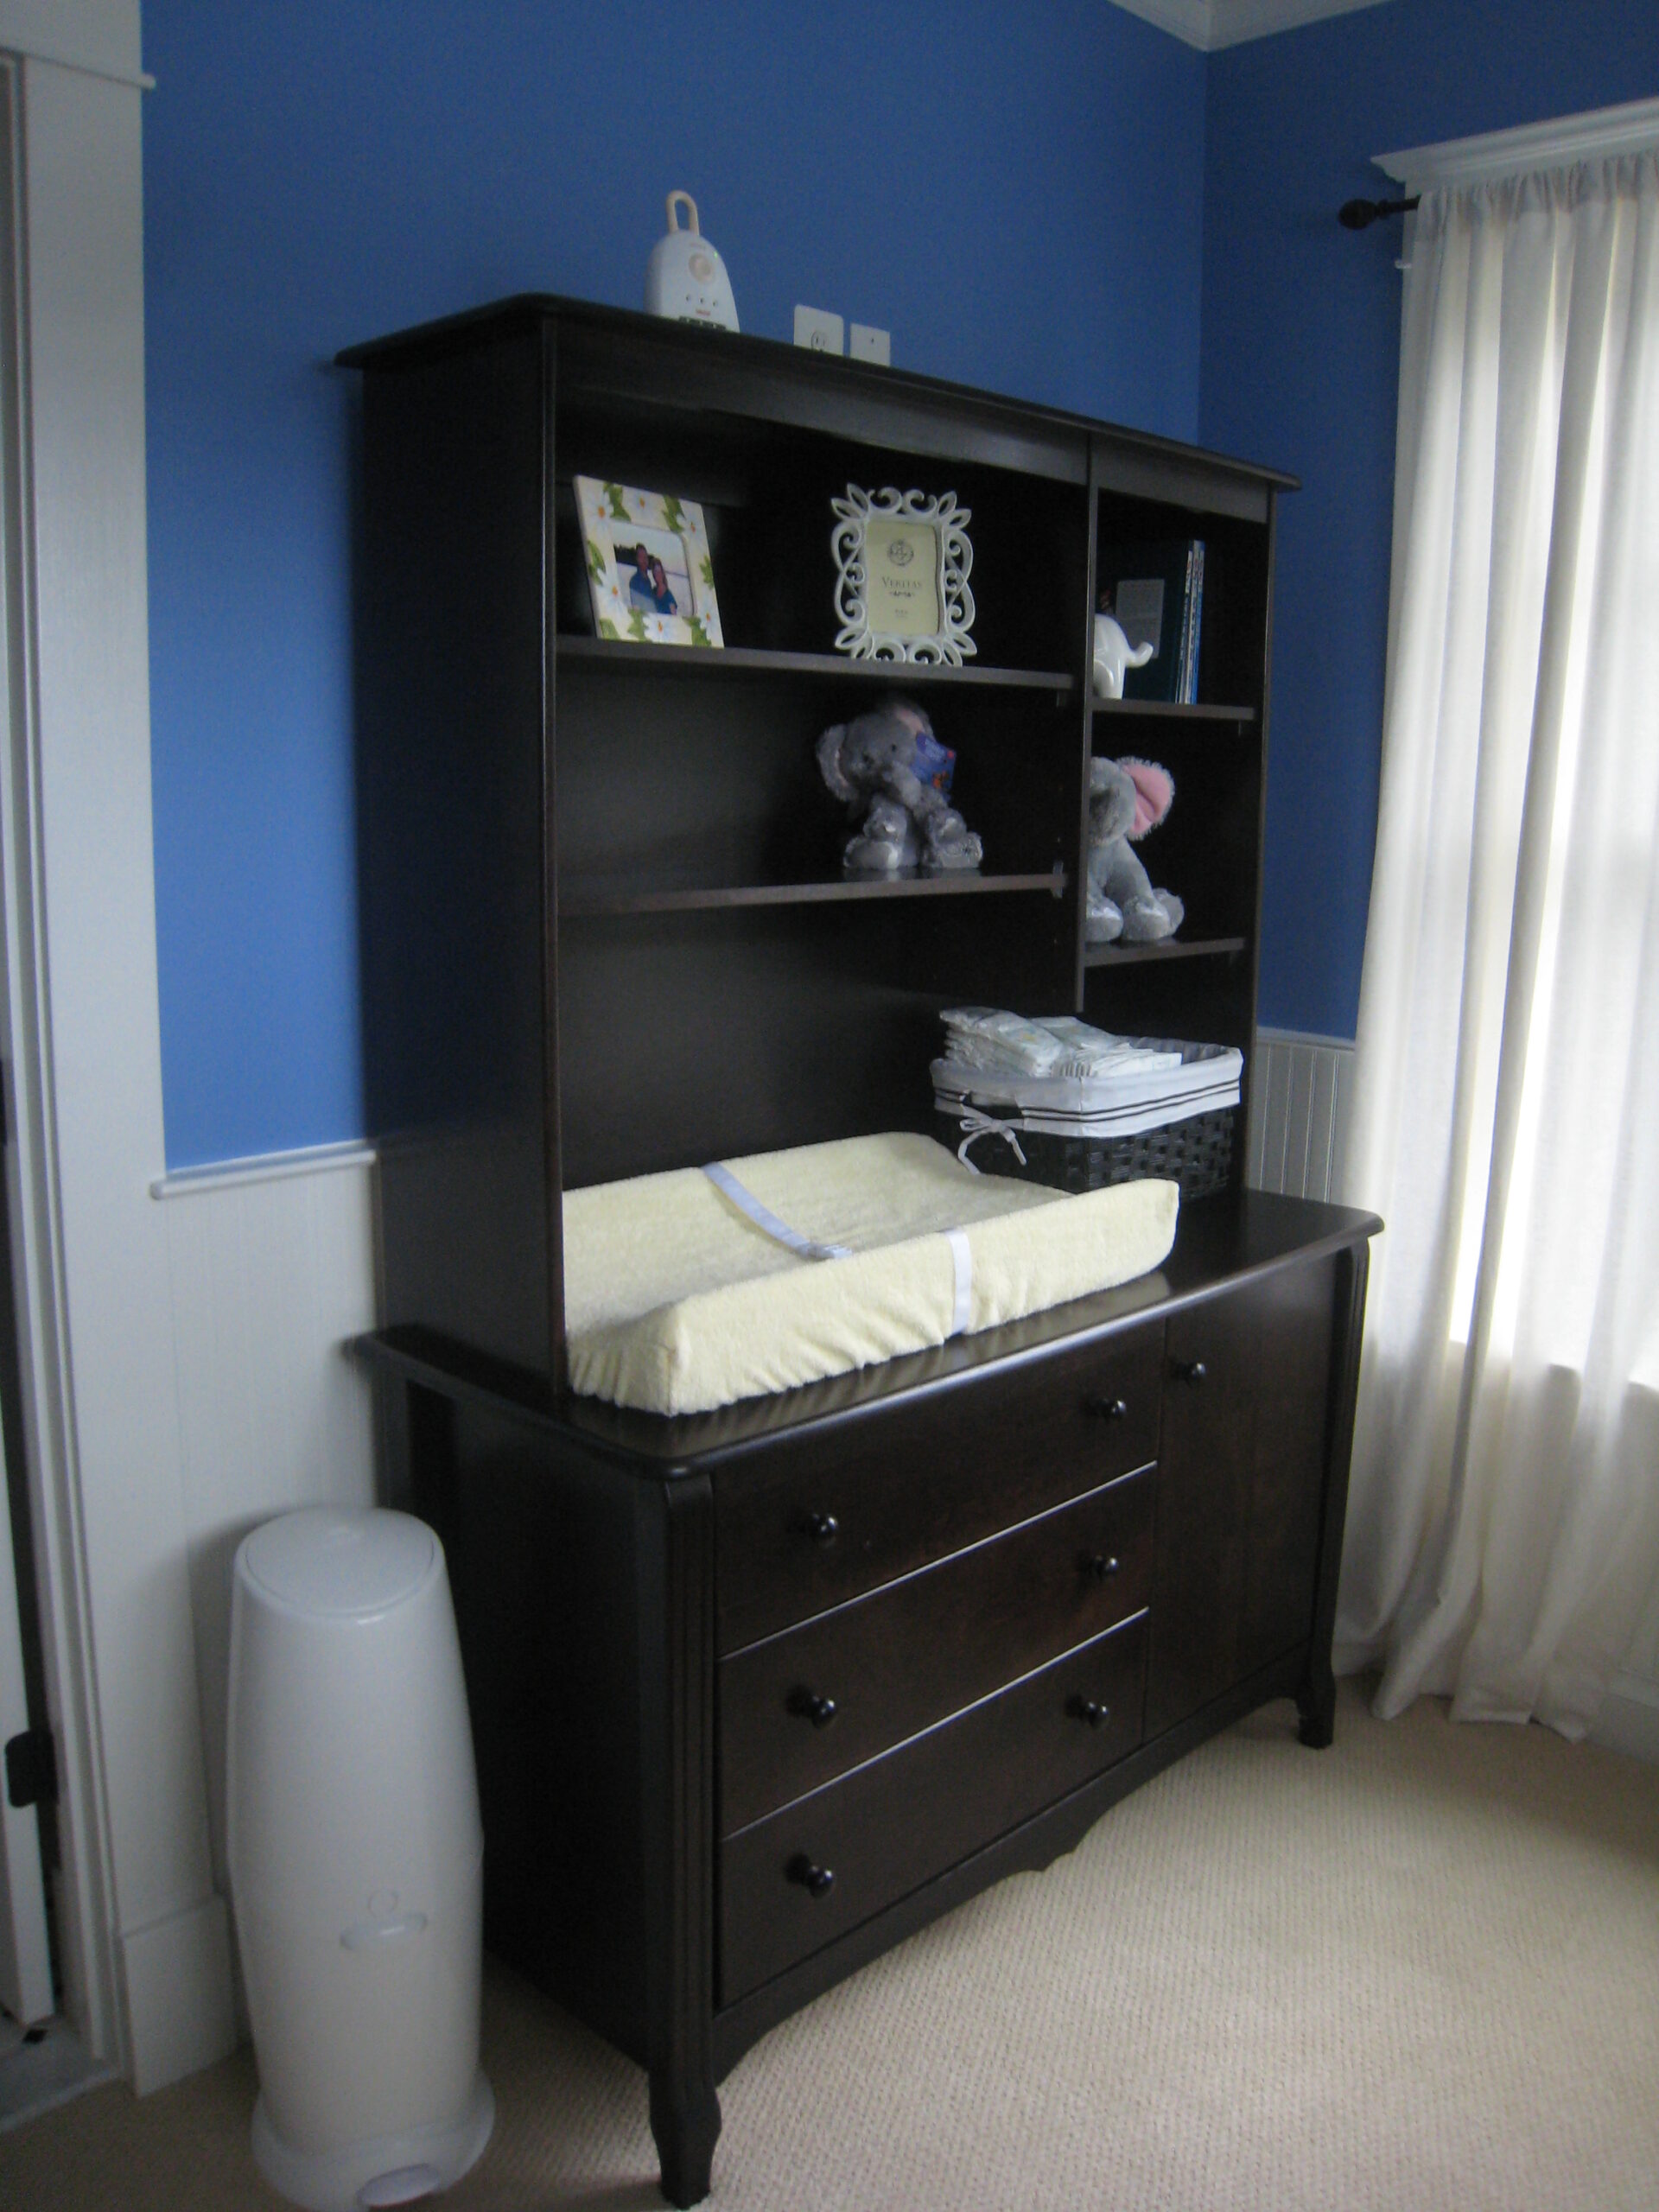
Nate was born in September 2010 and this was his room until his brother, Andrew, kicked him out when he came along in March 2012. The boys had separate rooms until about 5 years ago, when they begged to share a room. So Andrew moved into Nate’s room and we turned the nursery back into a second guest room.

But the reality is, very seldom do we have a need for 2 guest rooms. In fact, most of the time, we’ve been using this room to hang our laundry.

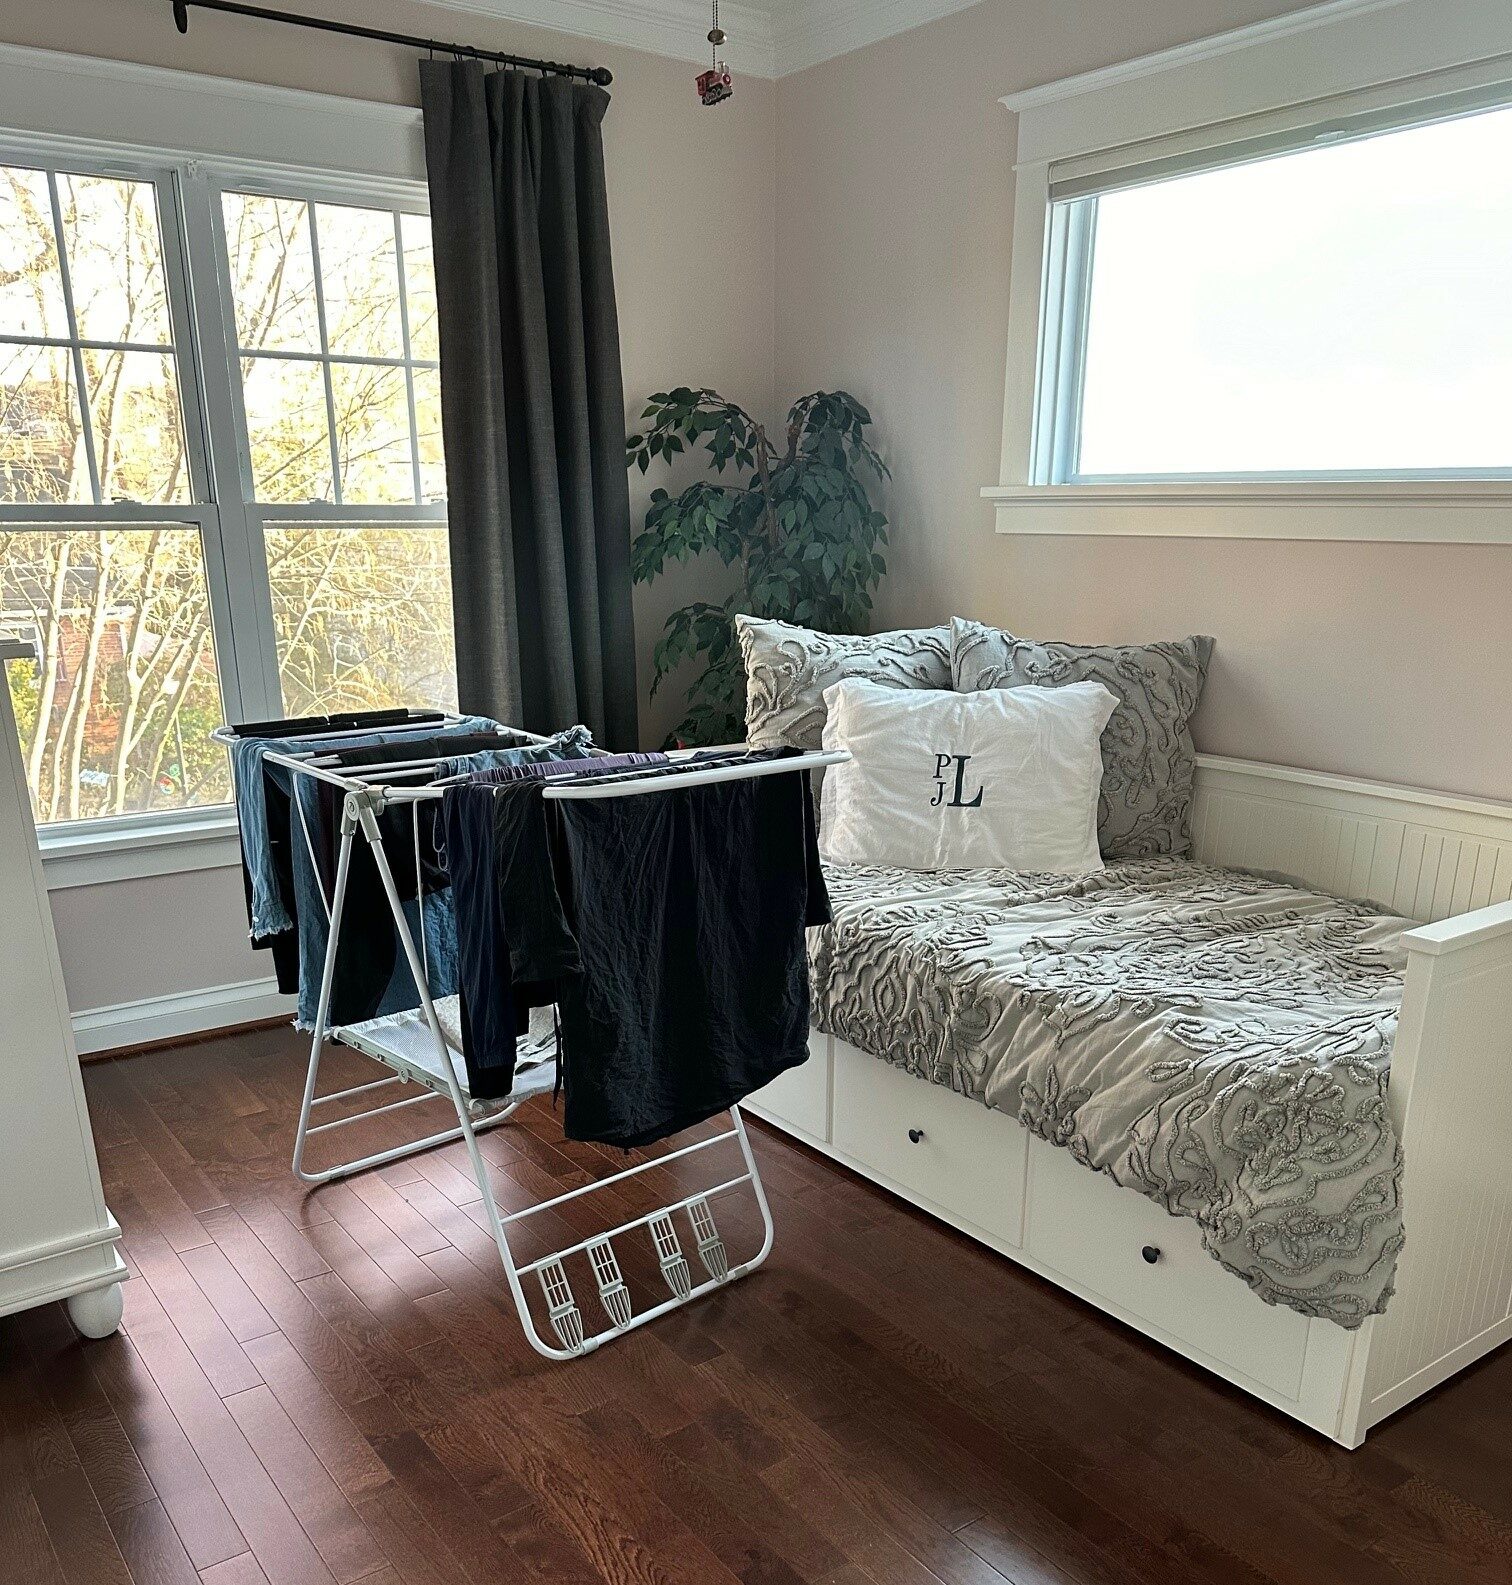
So, as I was pulling my laundry off the rack a few weeks ago, I had a brilliant idea. Why not repurpose this room for me? Paul took over the office on our main level during COVID. The boys have their “Club House” (aka Boy Cave) in the basement. What about me? Paul would argue every room in our house is my room, but I disagree. I didn’t really have my own space. A room I could go to, close the door, and be by myself.

A retreat.

It was decided, right then and there, as I was pulling my laundry off the rack like I had done so many times before over the last 5 years…I was going to make this room, my room. And I was going to start right away.

How To Get Started

After taking 3.5 seconds to make the decision to do redecorate, I knew I needed a plan. It’s important to map out your vision as concisely as you can. Don’t worry about every detail at this point, but have an idea of what you want to achieve with your project. Some questions to ask yourself…

How will I use the space? I had a few goals in mind for my room. Not only did I want a space to myself, but I wanted to be able to work there when I needed to, workout there when I wanted to, and I wanted it to be a quiet space to read, reflect, and just be. This room would serve several purposes, and given that the space itself is on the smaller side (roughly 10′ x 12.6′), it would take some creativity!

What is the overall look I want? Being the only girl in the house, I knew I wanted a space that looked girly! I already had my wall color in place, so I just needed to pick an accent color to go with it. And modern furniture. Definitely modern!

What is my budget? As with anything, establishing a budget will help guide your decisions. It might be hard in the planning stage to determine this when you are still figuring out what you want, but start somewhere. You can always flex it one way or another as needed.

It is also a good idea to sketch up your ideas on paper (or on your computer if that is more your thing). I grabbed a screenshot of our building plans and quickly mapped out where I wanted things to go.

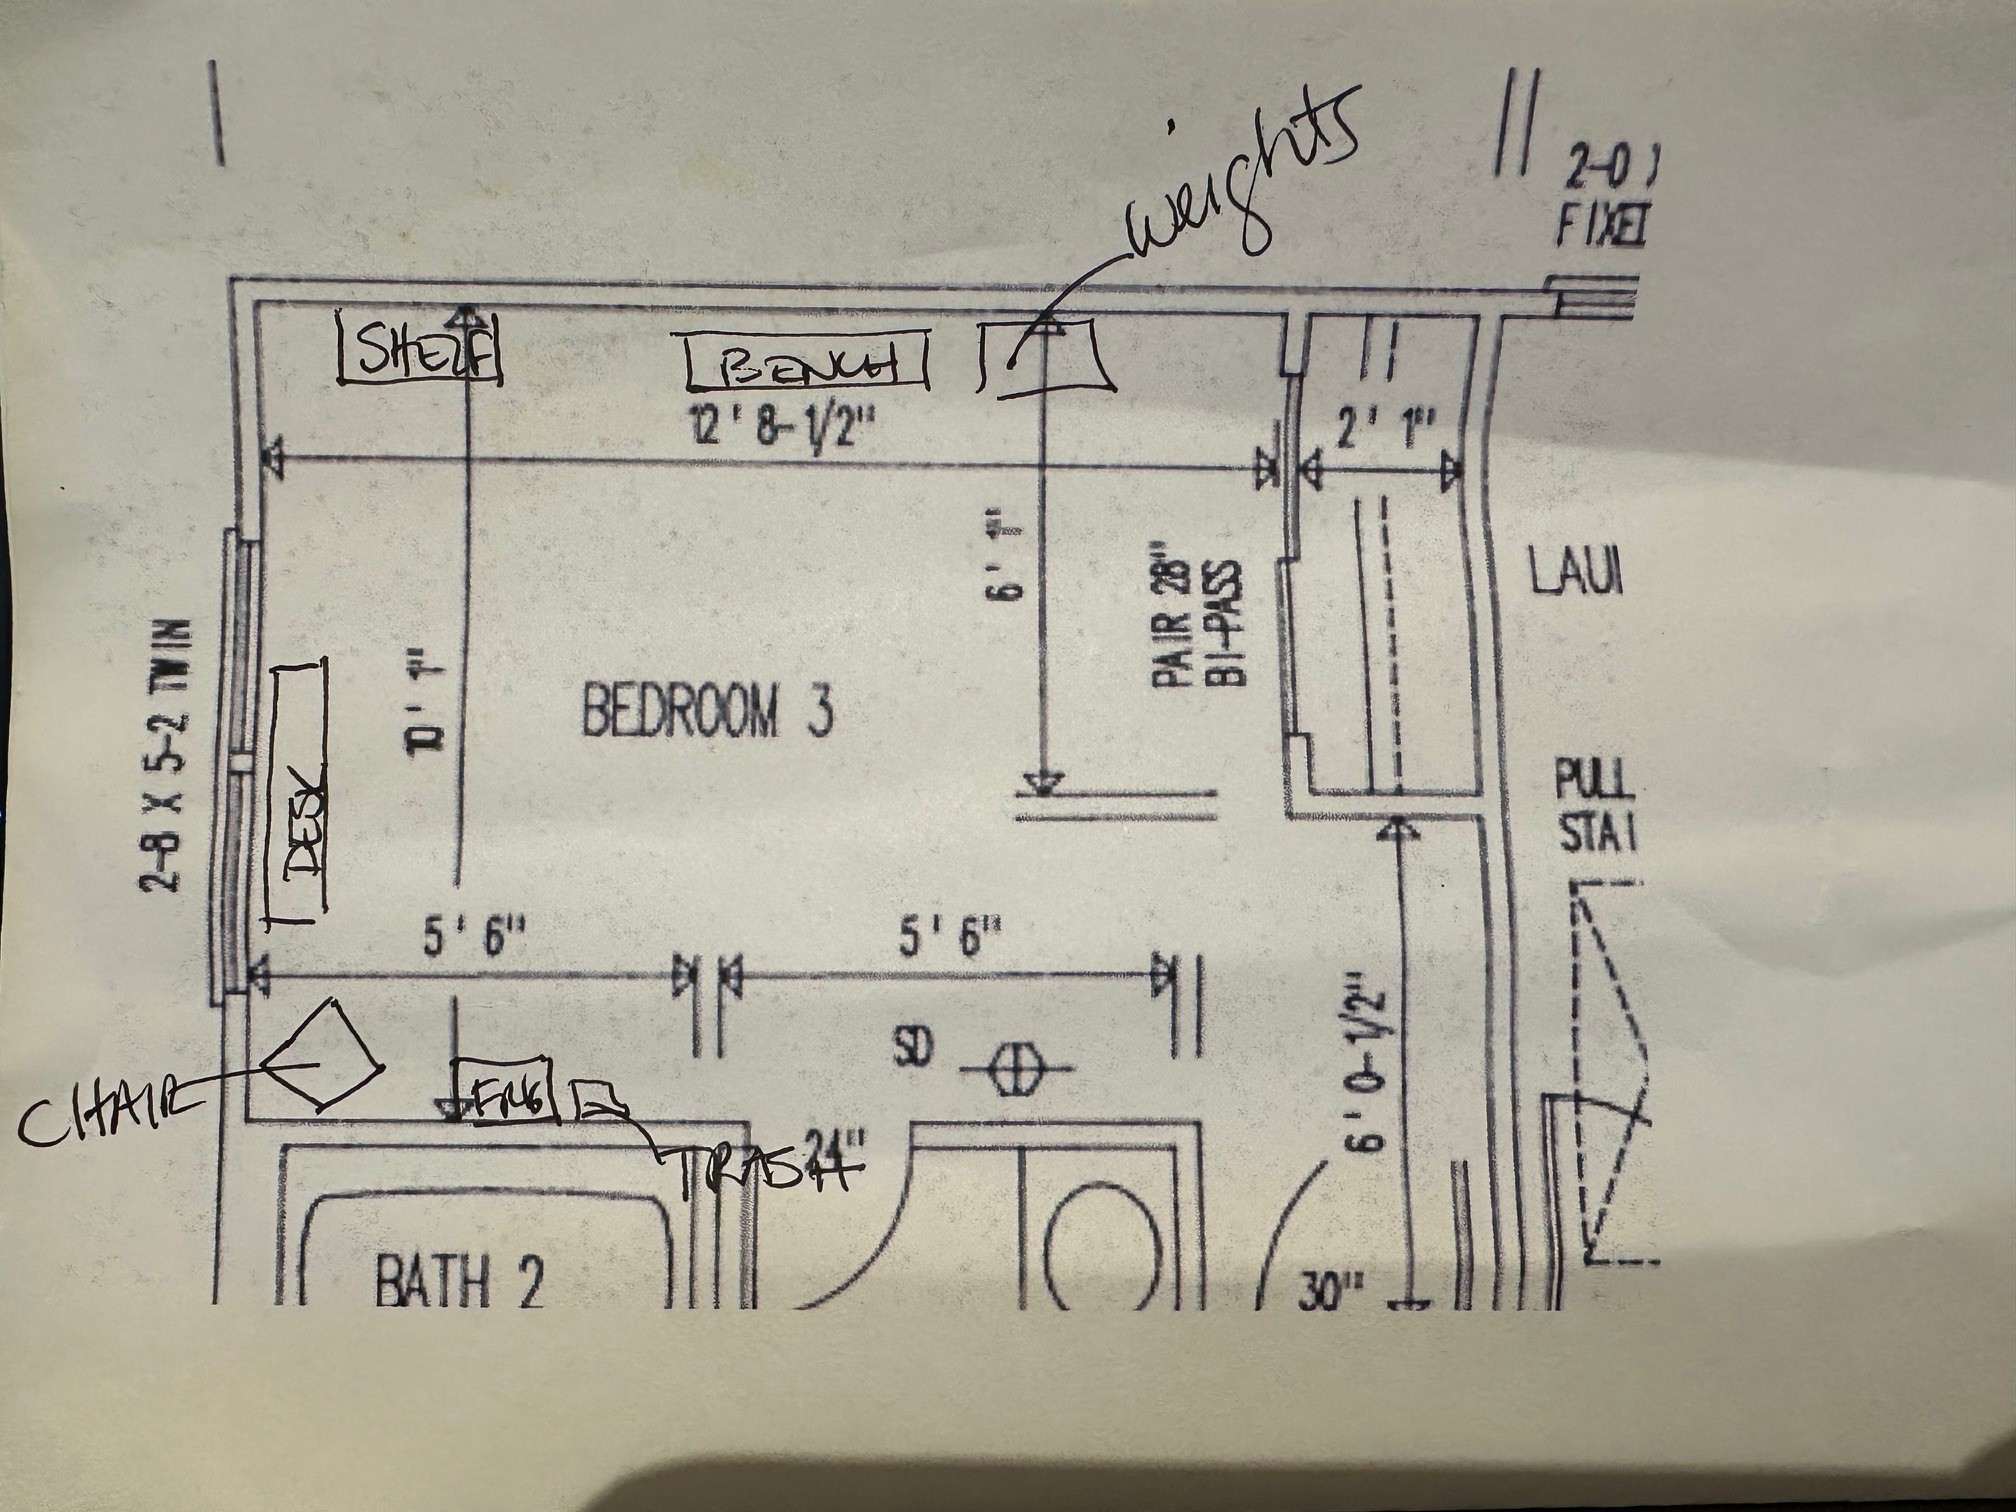
Even if the end result isn’t exactly what you thought (and that is what happened to me), it’s still a good starting point. A scaled drawing is even better because you can get a feel for how everything will fit/layout.

Bottom-line, the best way to get started with a project like this is to just get started. Brainstorm, get ideas from people who know what they’re doing (lots of good resources online for this!), and give it a go. Very little can’t be undone or returned, so don’t be shy. Just do!

In my next post in this series, I will show you how to prep your space for transformation!

Dream. Build. Live.


How To Redecorate/Repurpose Your Space, Part 2: Create Your Canvas

$
0
0

I recently started a new blog series about redecorating/repurposing your space. As our lives change, so do our needs. And as our needs change, our homes need to change with us. It is one of the reasons I still love our Nottingham Model after over 15 years.

When Paul & I built our home, we didn’t think we would have children. Two years later, our first son was born, and 18 months after that, our second son came along. This home has changed right along with us, and when I say we utilize it all, I mean it. Especially after I recently repurposed one of the rooms that wasn’t getting the love (use) it deserved.

Do you have a space you want to transform either visually or for it’s functionality? I hope you will join me for this fun journey as I show you how I turned a barely used guest room into a space just for me. I’ll share my process, my tips, my favorite ways to shop, and more!

Next up, creating your canvas!

_______________________________________________________________________

Now that you have your redecorating plan, the next step is to create a blank canvas which is important, especially if you are currently using the space for another purpose.

Step 1: Take Inventory

Take inventory of the stuff you have in the space and figure out what you want to keep, what can be sold or given away, and what needs to be pitched. We had been using this room as a guest room that got very little use as a guest room. Instead it became a catch all for crap. And laundry…

Something to know about me is I’m not a hoarder or a keeper of things just because there is space to keep it. I love to purge, but somehow I still fall prey to keeping stuff I know I will never need or use again. I heard a tip a while back for how to determine if you should hold onto something. The first question to ask yourself is “have I used this item in the last 12 months?”. If yes, you might want to keep it. If no, ask the second question, “can I replace this item for less than $20?”. If yes, pitch it. If no, decide if it is worth the space. I think this is a great way to avoid a bunch of little things you don’t use from accumulating and taking up “big” space.

I only had two pieces of furniture I needed to inventory, and I quickly decided I didn’t have any use for them anymore.

We bought the dresser when Andrew was born and the daybed when he grew out of his crib. The daybed is an Ikea purchase. This has been a great bed because the twin can be pulled out and made into a king sized bed (perfect for guests!). It also has three large storage drawers, making it a great option for a small space. This furniture has served us well for over a decade but since we didn’t need them anymore, I quickly reached out to a friend and found a new home for both pieces (and that hideous vase went into the donate pile)!

Two days later and the dresser and daybed were happily living in their new home. It felt soooooooooooo good to get this room cleared out and cleaned up!

Step 2: Make Any Necessary Updates

Does your canvas need a fresh coat of paint or new flooring? Now that the room is empty and clean, this is a great opportunity to do any “messy” updates to your space.

When we first setup our space as a nursery, we had bead board installed and repainted. We didn’t find out what we were having before the boys were born, so we wanted something that work for both a boy and a girl. We chose this periwinkle color that definitely looks more blue in this picture than it did in person.

When we changed the room over to a second guest room years later, we removed the bead board and re-painted. Being the only girl in the house, I was intent on choosing something “girly”, so I chose Sherwin Williams SW 6043 Unfussy Beige. I call it blush, Paul calls it pink.

Side Note: If you will be purchasing a new rug for your space, let me give you some advice. Choose your rug first. Before you paint or buy furniture, decide on your rug. This will be the anchor for everything in your space, and it is much easier to plan around the rug vs. trying to find a rug that works with everything else. Choosing your rug first will give you much more flexibility in the overall design of your space. Trust me.

The nursery also had carpet which we ended up changing out for hardwood shortly after Nate was born (there was a nasty incident that required carpet cleaning and that was all motivation I needed).

All in all, once we cleared out the furniture, our blank canvas was set, so we didn’t need to do any other work. But if your room needs a fresh coat of paint or new flooring, my advice is to do it now. It can be messy and much more difficult when working around furniture!

The next step (and my favorite) in redecorating/repurposing your space is shopping! In my next post, I’ll share what you should buy first (always!), and some of my favorite sources for furniture and room décor. I hope you will join me!

Dream. Build. Live.

The 57″ Rule

$
0
0

Artwork is an important design element in a home, and nothing can kill the impact of a great piece of art than hanging it incorrectly (usually too high). I have to admit, there is only one reason the artwork and photographs in my home are hung properly, and that is because of my husband (also engineer), Paul. Left up to me, our home would look ridiculous (and there would be a lot more holes in our walls).

Don’t have a “Paul” at home? Not to worry. There is one simple rule in hanging artwork correctly, and that is the 57″ Rule.

What is the 57″ Rule? Hang anything, anywhere, but make sure it is hung at 57″ on center from the floor. The reason this rule works in every situation is because this is the average human line of sight. This method is even used in museums and art galleries – because it works!

How do you calculate the 57″ Rule? Start by measuring 57″ from the floor surface and lightly mark the wall. Then take 1/2 the total height of the artwork you are hanging, and add that in. For example, if your artwork is 20″ high, you will add 10″ to 57″, so the top of the artwork should measure 67″ from the floor once it is hung.

A few things to keep in mind…

  • Don’t forget to incorporate the mechanism used to hang your artwork in the height calculation. For example, if the hanging bracket or tightened hanging wire is 3″ below the top of the artwork, you will want to add 3″ to the hanging measurement to make sure your artwork is at 57″ on center.
  • The 57″ rule may not apply to every situation. If you are hanging artwork over a piece of furniture or fireplace mantel , make sure it is hung at least 6-8″ above the furniture or mantel. It may exceed the 57″ rule, but it will still look right!
  • If your ceilings are very high, you may want to raise the artwork up a bit so it doesn’t make the wall look squatty. Hanging artwork 60-63″ above a floor with high ceilings will look more balanced.

Dream. Build. Live.

A Word From Jen…Trending Now: Wall Molding + Valentine’s Day Dinner Idea

$
0
0

Thank you for joining me for my weekly feature, “A Word From Jen…”, which is a short touch point I post each week to keep you informed about what’s happening around NDI, the market, and even in my own house. Here we go!

__________________________________________________________________

Do you have a Valentine’s Day tradition? Since my birthday is the day after V-Day, we always stay in. If you are looking for a special meal to make at home for your special Valentine, look no further! Checkout this wonderful recipe for White Truffle Butter Pasta. It’s easy but so elegant as well. I add mushrooms, but you can elevate it even more with lobster or shrimp. Serve with a green salad and crusty bread for a complete meal!

And don’t forget some chocolate for your Valentine!

Adding wall molding is trending all over social right now. I seriously can’t scroll through my feed without seeing something about this design element, and the best part, it is a very simple way to elevate a room.

What is “wall molding”? This type of trim has many forms. You might remember 20 or so years ago when “shadow boxing” was very popular (and still a favorite in traditional homes).

Over the years, “wainscoting” and “board and batten” trim became a common choice in Craftsman and Farmhouse style homes.

Now entire walls of molding are popping up. Especially with the DIY homeowner. These statement walls are easy to install and create a beautiful focal point in your favorite room.

Paint it the same color as the other walls in the room, or let it stand on its own. There are so many ways to pull off this trend in a sophisticated and timeless way – oh, the possibilities!

What do you think of this trend?

Dream. Build. Live. 

How To Redecorate/Repurpose Your Space, Part 3: Shopping For Your New Space

$
0
0

I recently started a new blog series about redecorating/repurposing your space. As our lives change, so do our needs. And as our needs change, our homes need to change with us. It is one of the reasons I still love our Nottingham Model after over 15 years.

When Paul & I built our home, we didn’t think we would have children. Two years later, our first son was born, and 18 months after that, our second son came along. This home has changed right along with us, and when I say we utilize it all, I mean it. Especially after I recently repurposed one of the rooms that wasn’t getting the love (use) it deserved.

Do you have a space you want to transform either visually or for it’s functionality? I hope you will join me for this fun journey as I show you how I turned a barely used guest room into a space just for me. I’ll share my process, my tips, and more!

Next up, shopping for your new space!

_______________________________________________________________________

Now that you have your redecorating plan and you have created a blank canvas, the next step is to source the furniture and décor for your new space. Depending on what you need, this may feel a little daunting, but don’t worry. Just read on!

Decide What Do You Need

The first thing you will want to do is make a list of what you need, based on how you will use the new space. Start with the big things (furniture, area rug, window treatments, etc.) and go from there. As you pull the space together, you can fill in with artwork and room décor.

The original plan for my new space was to use it primarily as a home office and fitness studio, so I knew I needed a few key items…an area rug, desk and chair, some sort of shelf, a small frig, and a set of free weights.

Before I get into where I shop, I wanted to share my philosophy on buying furniture. I don’t spend a lot on furniture for two main reasons – I get bored easily and I have 2 boys & a dog (need I say more?). That doesn’t mean we by cheap stuff. We buy good quality stuff, but we just don’t spend a lot on it. We’ve had much of the furniture in our home for a long time. For example, Paul & I purchased our dining room table and chairs from Pottery Barn 24 years ago when we bought our first home. While PB can be expensive, our good friend was working there at the time and got us a nice discount. It is worn and well-used, but it has held up well. I don’t get sentimental about “things”, but this table has certainly been the source of so many wonderful memories for us.

Why do I tell you all this? Because where I shop for furniture and décor are not high-end stores. So if that’s your thing, this post may not be your thing. You’ve been warned!

Where To Shop

My first stop when buying new furniture or home decor is my own home. You would be surprised what ideas can be sparked by walking around your current setup and imagining a new use for a piece of furniture, vase, table, etc. We have several pieces of furniture in our home that have seen multiple uses and locations. So look at what you have first before blindly buying more stuff!

After shopping your own home, you can start to hunt around for what’s left on your list. I have a couple of online stores where I always start – Wayfair and Amazon (shocking) for starters. I have had such great success with Wayfair. The quality has been consistent (read the reviews!), and their customer service is quite good!

But first up, this is the area rug I purchased for my room.

I found it on Ruggable (love their products!) and it checked all the boxes for me. I knew I wanted turquoise blue as an accent color, and I love the gold running through it, which is another accent color I incorporated into my room. I also wanted something durable. Ruggable rugs are great because you can machine wash them.

Speaking of rugs, if you will be purchasing a new rug for your space, let me give you some advice. Choose your rug first. Before you paint, choose drapes, or buy furniture, decide on your rug. This will be the anchor for everything in your space, and it is much easier to plan around the rug vs. trying to find a rug that works with everything else. Choosing your rug first will give you much more flexibility in the overall design of your space. Trust me.

In the end, I found my new desk, desk chair, and shelf unit on Wayfair. Not only do they have quality products and good service, but you can find reasonably priced furniture and it ships quickly. I purchased this small frig (perfect for keeping cold drinks) from Amazon. I love the retro look of it and it is great for keeping cold drinks. It is also the resting spot for my mini Keurig!


Something of a surprise in my decorating endeavors is I have recently started finding some great things at Walmart. This chair being one of them. I wasn’t planning on buying a chair for my new space, but I saw it on social and decided to try it out. Seriously. I friggin’ love this thing. It swivels and it is so comfortable. The size is surprisingly big (but not clunky) and the quality is spot on.

And it’s from Walmart!

Other Tips For Buying Online

When buying furniture online, it is a good idea to rely on the reviews before pulling the plug. I also make sure the piece is going to scale well in the space (things can look a lot different online, including how big/small they really are). You should also be aware of the seller’s return policy. Not only how long you have to decide to keep or return, but who is responsible for the return shipping costs. This is especially important when purchasing sizeable items!

Next up in this series is pulling the space together – furniture placement, adding décor and hanging artwork. There is a method to it all!

Dream. Build. Live. 

Choosing The Right Rug For Your Space

$
0
0

Choosing the right area rug for your space is an important step and will set the tone for any room! Follow these tips and you can’t go wrong!

Tip #1: Choose The Rug First

Before you paint, choose drapes, or buy furniture, decide on your rug. This will be the anchor for everything in your space, and it is much easier to plan around the rug vs. trying to find a rug that works with everything else. Choosing your rug first will give you much more flexibility in the overall design of your space.

Tip #2: Bigger Is Better

One of the most common mistakes people make in choosing an area rug, is getting the wrong size. While it may seem counterintuitive, rugs that are too small for the space can actually make the space look smaller. Which means, when you buy a larger rug, your room will feel more spacious!

A good rule of thumb is to size your rug so that you have 6-24″ between the rug and the wall. Depending on the shape of your room, this may vary a bit.

Tip #3: How To Place Your Furniture 

You can place furniture so it all sits on the area rug, but you will want to make sure at least the front legs of each piece are touching the rug.

Finding the right area rug can feel daunting, but I have found great success buying rugs from Ruggable. I love the selection, and they are very durable and so easy to clean since they are machine washable!

Dream. Build. Live. 

Smart Home Technology: What to Add to Your Custom Home

$
0
0

Smart home technology is constantly changing as new products are coming to market every day. It can be hard to decide what to add to your custom home, so if you’re wrestling with what smart home technologies to consider, here are some suggestions!

  • WIFI Front Door Camera & Intercom: You can easily identify and talk to whoever is at your front door, whether you are at home or not.
  • Wifi Cameras: These allow you to monitor the inside and outside of your home from any location. Some cameras store video in case you need to look at past events.
  • WIFI Controlled Lighting: You’ll save energy by having your lights turn off automatically when that area isn’t occupied. Outdoor smart lighting is also a safety feature.
  • WIFI Controlled Front Door Lock: Never get locked out again! Having a smart lock is also helpful when you want to give others access to your home.
  • WIFI Controlled Garage Door Opener: You can open your garage from anywhere. This can be helpful if you’d like to give a delivery person access to the garage.
  • WIFI Controlled Thermostat: These improve daily life by monitoring temperature, humidity, and sometimes even the state of your HVAC system. You can program it how you want to optimize your energy use. And you can monitor your home while on vacation.
  • Smart appliances: If you can believe this… Your washer can text you when your laundry is done, your fridge can alert you if it gets too warm, and your coffee maker can have your daily cup ready right when you wake up. Life’s just easier with a smarter home!
  • Virtual assistant: Change the lights, music, and temperature, update your to-do list, and Google when the next season of your favorite show starts—all from the comfort of your couch.

At NDI, we include a home automation package in every home we build. We feel this improves the safety and comfort of our homes. All NDI homes come with the following custom home automation package:

  1. One year of home automation service
  2. Home automation interactive gateway
  3. SkyBell front door camera/intercom
  4. Two Alarm.com Z-Wave thermostats
  5. WIFI Front door lock
  6. Two Z-Wave light switches (front porch and foyer)
  7. WIFI Garage door opener with MyQ (per plan)
  8. One 7” color touchscreen keypad with panic buttons
  9. Two WIFI cameras (1 interior, 1 exterior)

If there’s home technology you can’t live without, let us know! We love staying on top of trends and integrating features that make home life more safe and enjoyable. And remember, you can always customize to meet your needs and budget. If you have any questions about what can be added to your custom home, feel free to contact us at hello@newdimensionsinc.com or 800-406-8555.

Dream. Build. Live.

Build Smart: What If My Lot Is On A Busy Street?

$
0
0

Northern Virginia is a busy place. There is a lot going on throughout the day and night which leads to lots of traffic. Lots and lots of traffic. And not just on the area highways – traffic is everywhere in between.

We’ve built a lot of our homes in some of the busiest areas in Northern Virginia. We’ve had sites that backup to Rt. 66 and I-495. We’ve built on Washington Boulevard in Arlington (twice!) and Westmoreland Street in Falls Church (four times!). You name it, we’ve probably built on it or near it. Some of the clients who have built on busier roads have opted to use sound reducing building materials. If you are considering a build on your perfect (but busy street), you might want to read on.

Here are measures you can take to minimize the outside noise you hear inside your brand new home.

Extra Insulation (Inside & Out)

There are a few options when considering extra insulation for noise reduction. Spray foam is one of the best insulation products on the market. It provides an air block and also helps with reducing noise.

We used spray foam insulation at this spec home we built on Sycamore Street in Arlington several years ago.

The house was close to 66 and a block away from East Falls Church Metro Station. Lots of traffic at all times of the day. The foam did wonders – most visitors couldn’t believe the difference. It’s not cheap but it works.

Spray fiberglass insulation is a close second in terms of reducing street noise. It is a bit more affordable than the foam and while not as effective as the foam, it does help.

Many clients who opt for sound insulation will only install it in the exterior walls adjacent to the street. For example, if their home faces a busy street, they will opt to install the extra insulation on the front of the house only.

You can also add extra insulation to the interior house walls and floors to reduce noise. I decided to insulate the walls of my laundry room, my master bathroom and all secondary bathrooms. While it doesn’t eliminate noise, it does help to reduce it. I would do all of this over again.

Sound Reducing Window Sashes

Most window manufacturers offer sound reducing window sashes. They cost more money but they can be effective in reducing street noise.

As with sound reducing insulation, clients will typically choose certain windows to have these special sashes instead of installing throughout the entire house.

Sound Dimming Drywall

Sound dimming drywall (like Soundboard) is a product that can be used on areas in the house adjacent to the street. It is more expensive than regular drywall but it is highly effective in reducing outside noise.

We’ve had some clients elect to incorporate all of these measures and some pick and choose based on their needs and their budget. I’ve yet to find a client who regretted their decision to use these materials. In fact, I heard from a client recently who commented about the sound reducing measure they did in their home built in McLean back in 2012. He said, he was very pleased with the things we did in his home to reduce the noise from Rt. 123 and he would recommend it to anyone concerned about it.

No lot is 100% perfect. It’s all about compromise! And often we have solutions for you to mitigate some of those less-than-ideal circumstances. Give us a call, tell us about your lot, and we will give you our best advice!

Dream. Build. Live.


The NEW Lincoln Model Revealed

$
0
0

I’m so excited to reveal our NEW design, The Lincoln Model. This home is over 3200 square feet but only 30′ wide (perfect for your in town lot!). And it checks all the boxes – Farmhouse style, open concept, flex space, and more!

Here are the floor plans…

The beauty of a design with flexible space is that you can change how you use the space as your needs change. Flexibility in design is KEY, especially since building a custom home will be one of the biggest (and BEST) investments you can make!

But my favorite part of this new design is the price. For a limited time, we are offering this home, on your lot, for $449,900 (site development not included). If you aren’t wowed by the price, check out the huge list of signature features we include in every NDI home. KraftMaid cabinetry, KitchenAid appliances, a robust home automation package, and more!

Is 2024 the year you will build your NDI home?

Dream. Build. Live.


Choosing Your Exterior Color Scheme

$
0
0

Choosing your exterior color scheme for your custom home may seem like a daunting task. After all, it is the first thing people will see. And let’s be honest, exterior materials aren’t the easiest thing to alter after the fact. But deciding what color siding, roofing color, etc. doesn’t have to be overwhelming. Here are some tips to help you!

Tip #1: Keep A Consistent Style

Whether your home is farmhouse, modern or craftsman, you want to keep the exterior consistent with the design. Farmhouse style homes are typically a combination of horizontal and vertical siding (also called board & batten), while Craftsman style homes will combine stone and siding (both plank & shingle). Stick with the overall style of your home, and while you’re at it take a look around your neighborhood. Whether you are one of the last new builds on your street, or the first, you want your house to blend in like it’s always been there!

Tip #2: Choose Your Siding Color First

By choosing your siding first, you will have a solid starting point for your other selections like your roofing and front door color. When choosing your roofing color, you can choose a contrasting color to the siding for a strong statement.

Or a color that is a little more subtle with a contrasting metal roof color. This is one of my favorite combinations we’ve done…

Tip #3: Don’t Worry About Trends

Don’t worry about what’s trending, choose what you love!

Want to try something different, but you don’t want to make a long term commitment? Think about choosing a trendy color for your front door. Unlike siding or roofing, paint can be easily changed as the trends (or your preferences) change.

Bottom-line, go with what you love!

Dream. Build. Live. 


Latest Images